Kate J Hollingsworth
writer + entrepreneur
Discover Your Story
-
Catalina Island, California
At about this time last year, I found myself at a Catalina Island weekend for the spring art show hosted by the Catalina Art Association. The island was beautiful, the weather was great, and the art fair was a success. Totally loved the weekend spent there, and happy to share some of my favorite photos from…
-
Goats in San Luis Obispo, California
((Missing Image)) It is August and around here in San Luis Obispo it looks like this: ((Missing Image)) How pretty is that view as the sun sets? There are lots of baby goats hanging out right now…. ((Missing Image)) …. working on those balance skills… ((Missing Image)) … and getting some naps in (growing up…
-
How to Spend a Day in Cambria, California
Cambria, California is a small, lovely seaside town about 20 minutes north of Morro Bay. It makes a great stop if you are driving between LA and San Francisco, and is close to some cool sites in the central coast area like Hearst Castle, the elephant seals at San Simeon, and the Paso Robles winery…
-
Painting the California Coastline – Part 2
I’m back with another update on my California Coastline art collection! In Part 1, I talked about some of the things that happen before any paint gets on the canvas. Here in Part 2, I’ll show some behind-the-scenes process for how I prepare my canvases. In general, I’ll prepare my canvases with a couple of rounds of…
-
Painting the California Coastline – Part 1
I’m working on an art collection inspired by the Central Coast area of California in and around San Luis Obispo county. While I’ve been living in Morro Bay for a couple of months, I’ve been especially inspired by the ocean and the colors that form where the sky meets the water on the horizon. I…
-
Beirut, Lebanon // The Corniche
((Image Missing)) Hi from Beirut, Lebanon! I am here for a few weeks exploring this city on the Mediterranean. I have lots of photos, and wanted to start by sharing some from the Corniche – Beirut’s wide walkway along the coast. The blues are beautiful… ((Image Missing)) … and you can walk right alongside the…
-
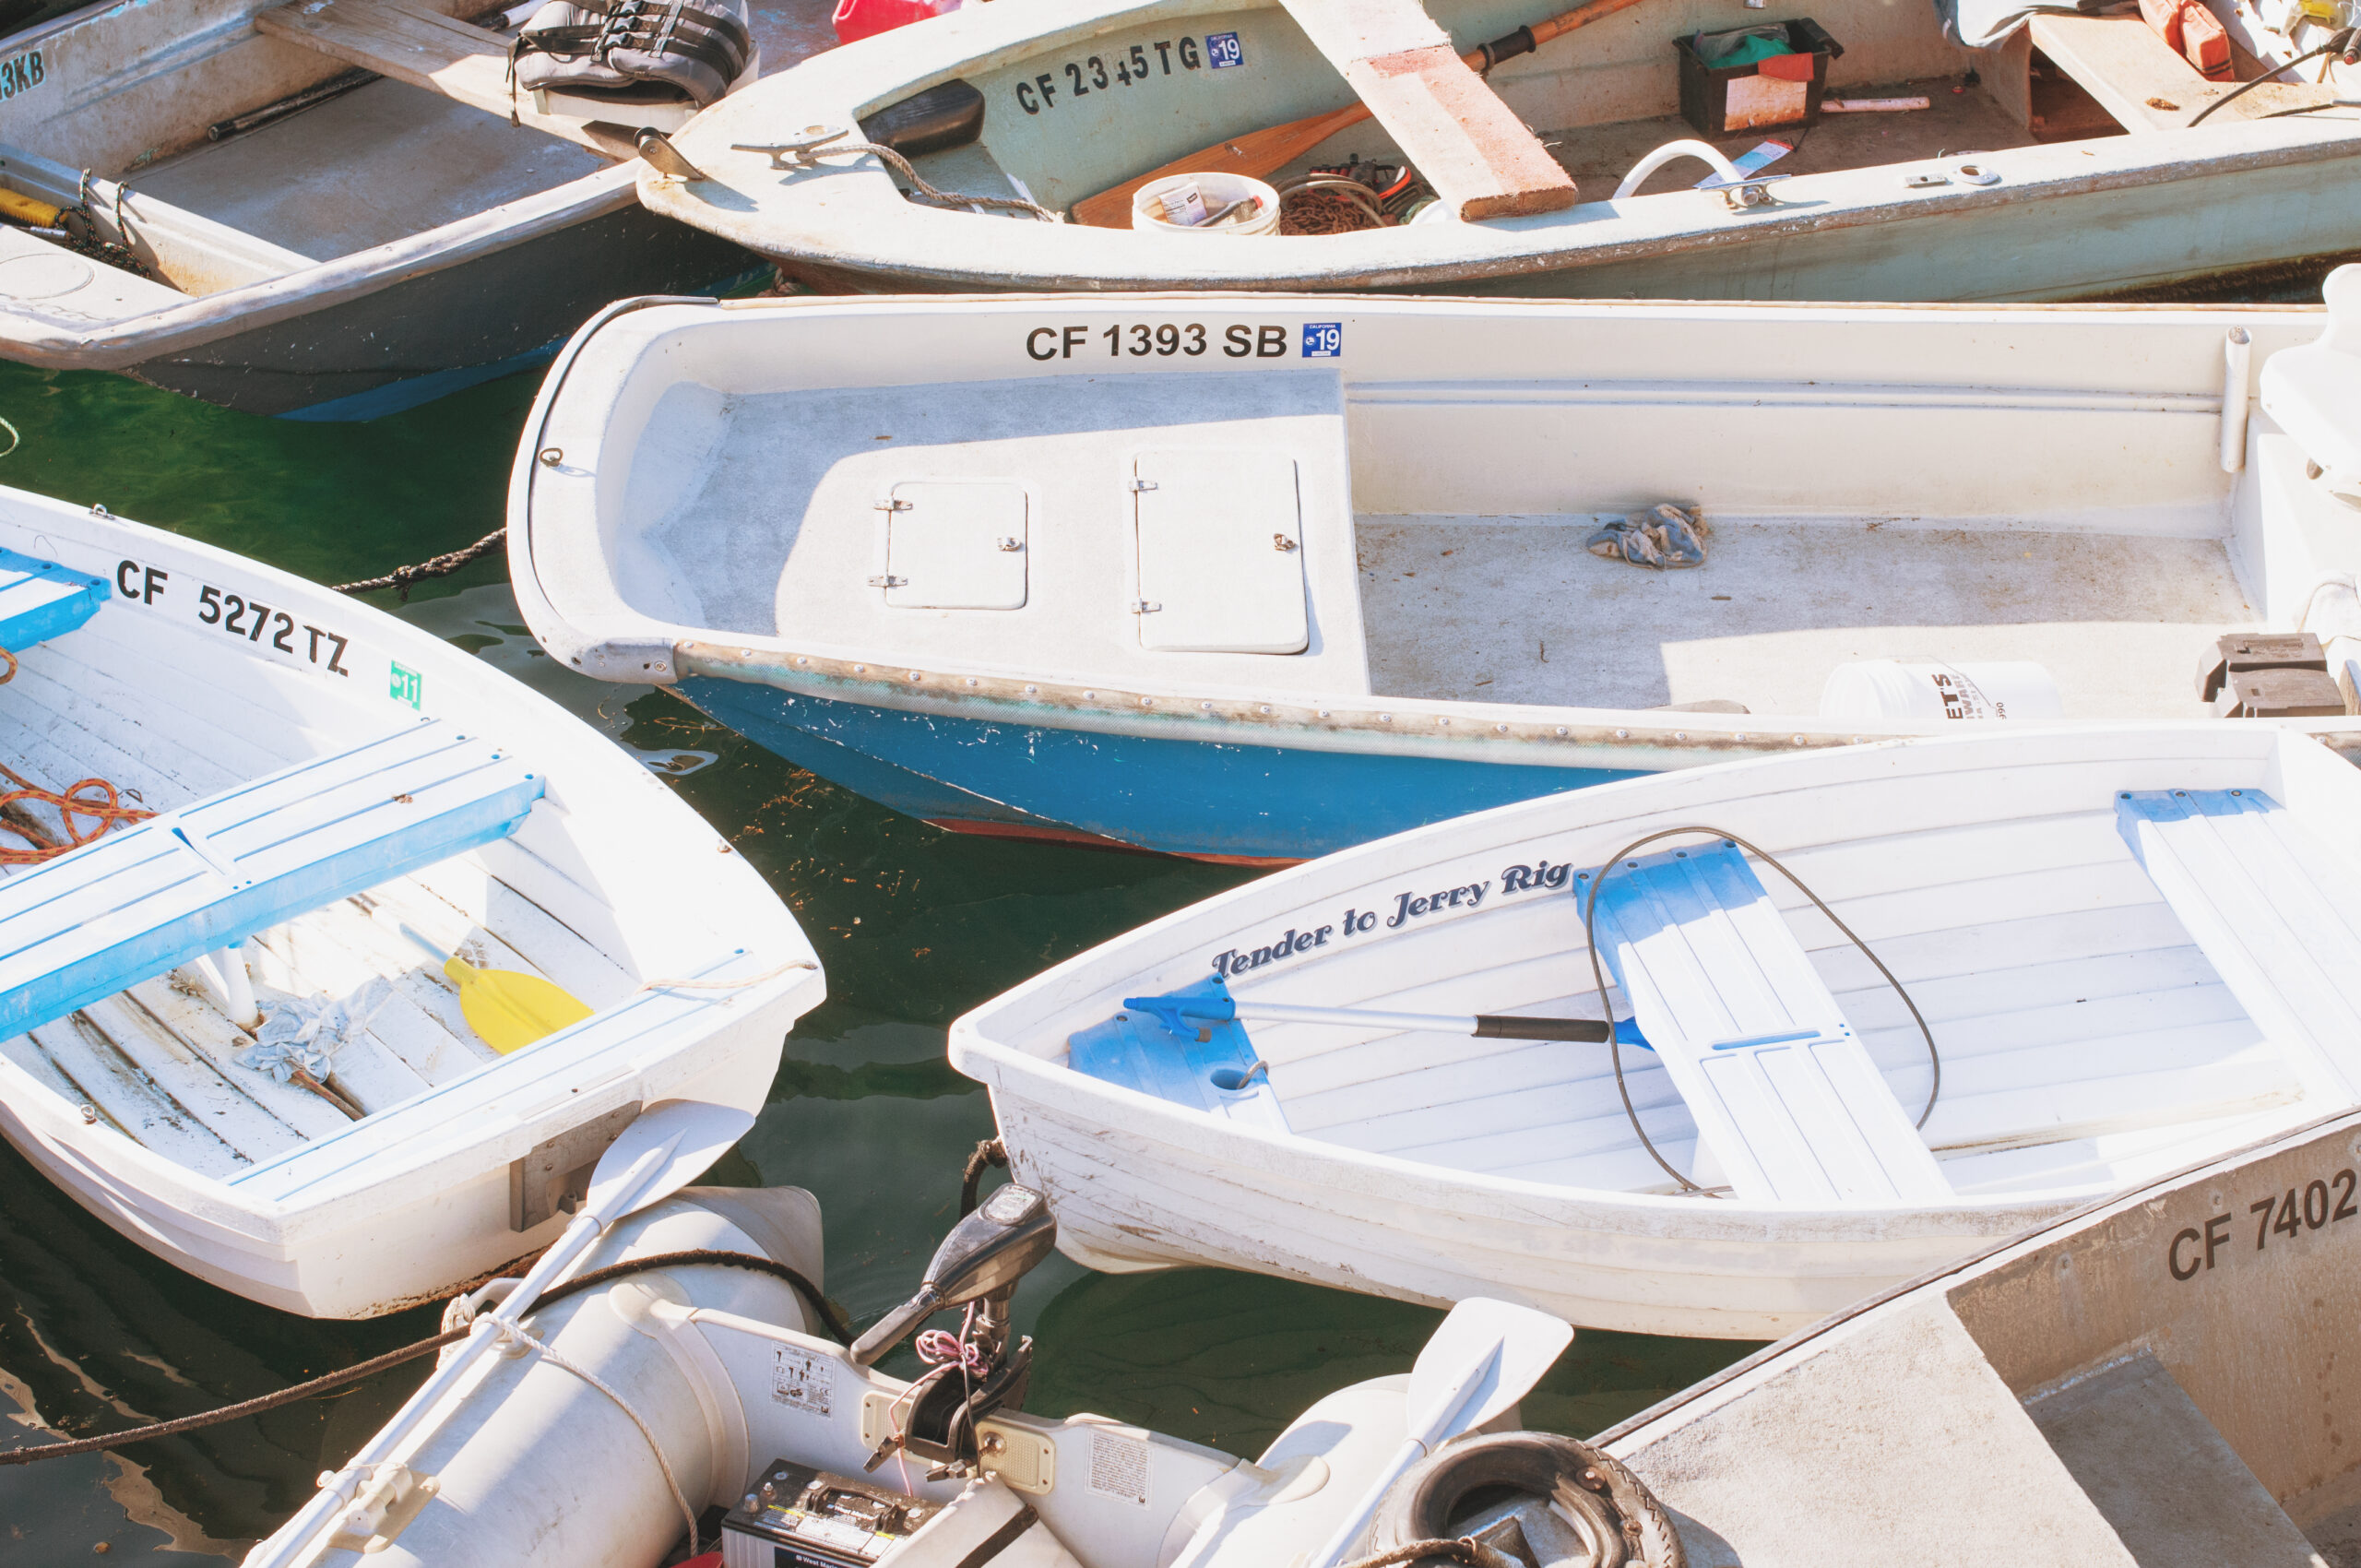
Morro Bay Waterfront
((Image Missing DSC02515-1-665×435)) I loved staying in Morro Bay, California for a couple of months. Wanted to share a few more photos from our time there this spring! ((Image Missing)) ((Image Missing)) ((Image Missing DSC_0525)) Love the view of Morro Rock – you can see it from everywhere along the waterfront… ((Image Missing)) ((Image Missing…
-
A March Day Trip to Sequoia National Park
Earlier in March, we took a day trip from to Morro Bay to Sequoia National Park. There are lots of cool things to see and do in both Sequoia and the nearby Kings Canyon National Park, but our mission was to see some of the tall sequoias in the National Forest and especially the General…
-
Ocean Painting Time-lapse
Hi guys, hope you are having great week so far! It’s *almost* Friday and I am excited about that! Earlier this week, I wrote about the preparation steps that are part of the process for creating an art collection. Today I’m sharing a time-lapse video of one of the California Coastline paintings: [youtube https://www.youtube.com/watch?v=jGzHwTDwdb8] In…


Jennifer Fox
Blogger
Categories


Tags
"road trip" acrylic painting art art process art video Atlanta beach Berlin budapest california california coastline castle central california christmas cinque terre coast czech czech republic dorm emory europe family fashion featured florida france Freiburg freshly pressed germany Hawaii hiking hungary italy painting photography Prague rome social media study abroad travel travel photography travel photos united states usa west coast