
I’m working on an art collection inspired by the Central Coast area of California in and around San Luis Obispo county. While I’ve been living in Morro Bay for a couple of months, I’ve been especially inspired by the ocean and the colors that form where the sky meets the water on the horizon.
I want to share with you guys the behind-the-scenes process. Part 1 here focuses on some of the things that happen before any paint gets on a canvas.
1 – Finding Inspiration
First things first, some inspiration! It’s where the fun starts. 🙂
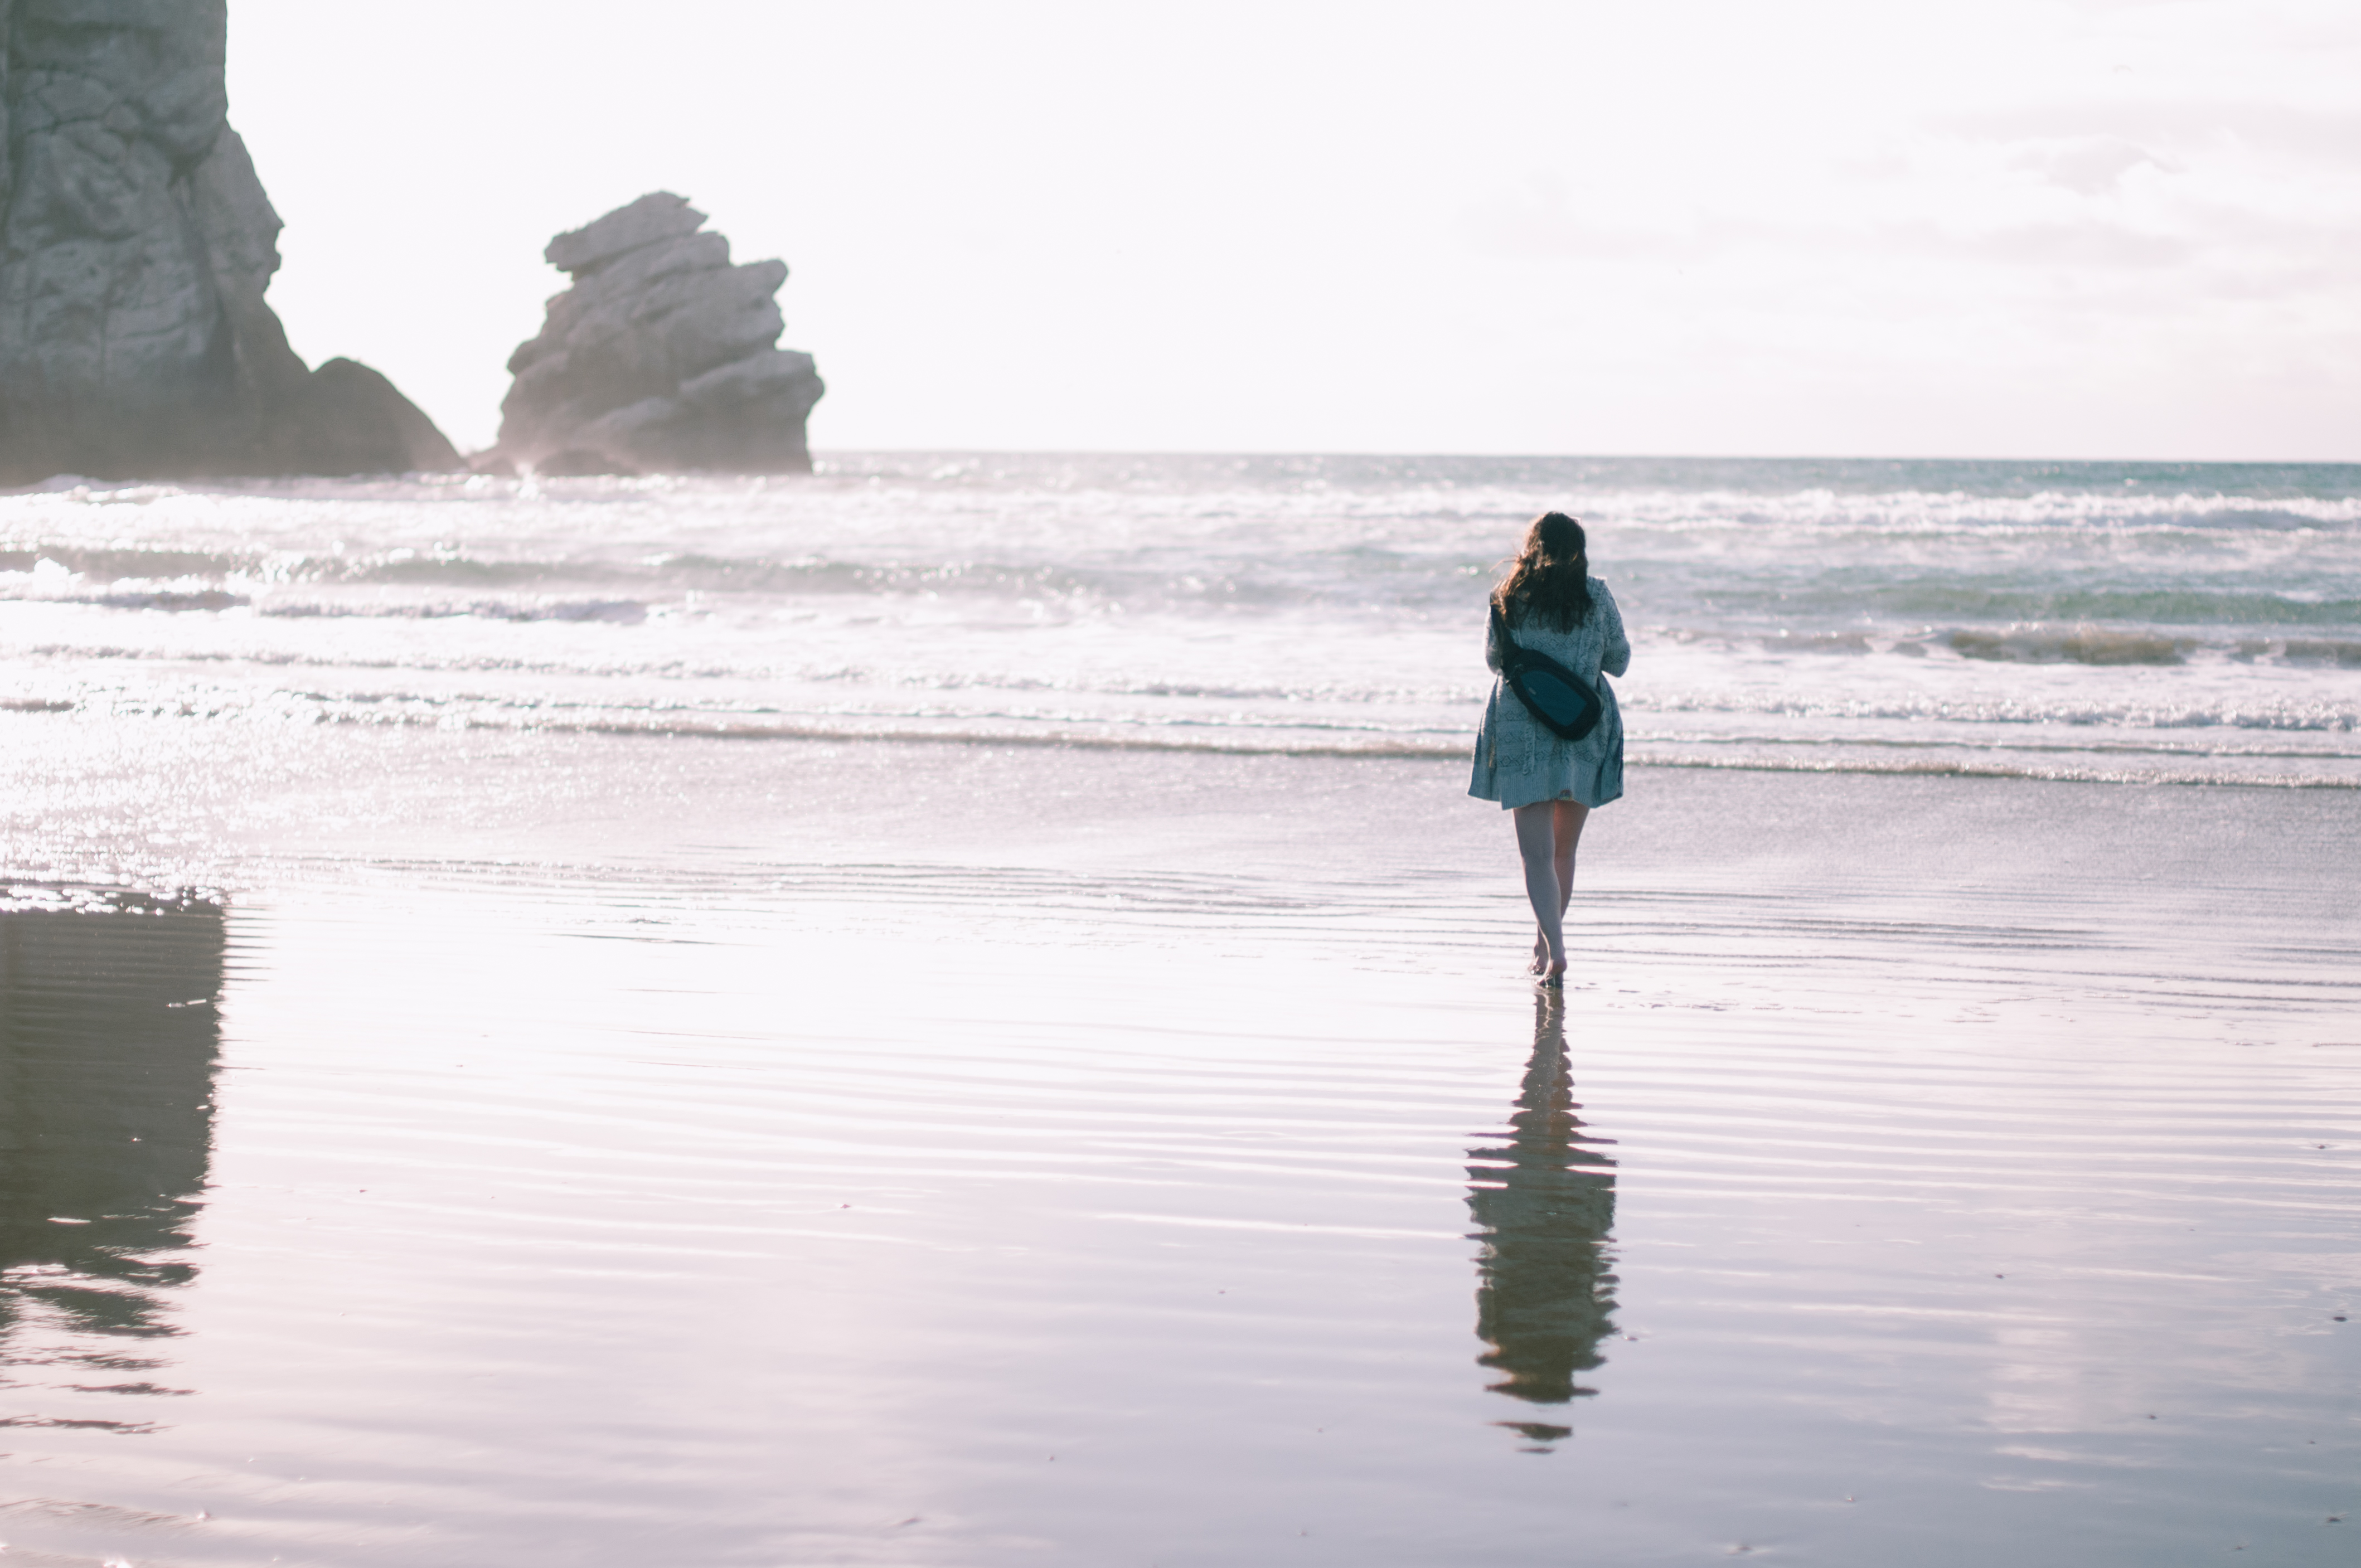
An early afternoon by Morro Rock…
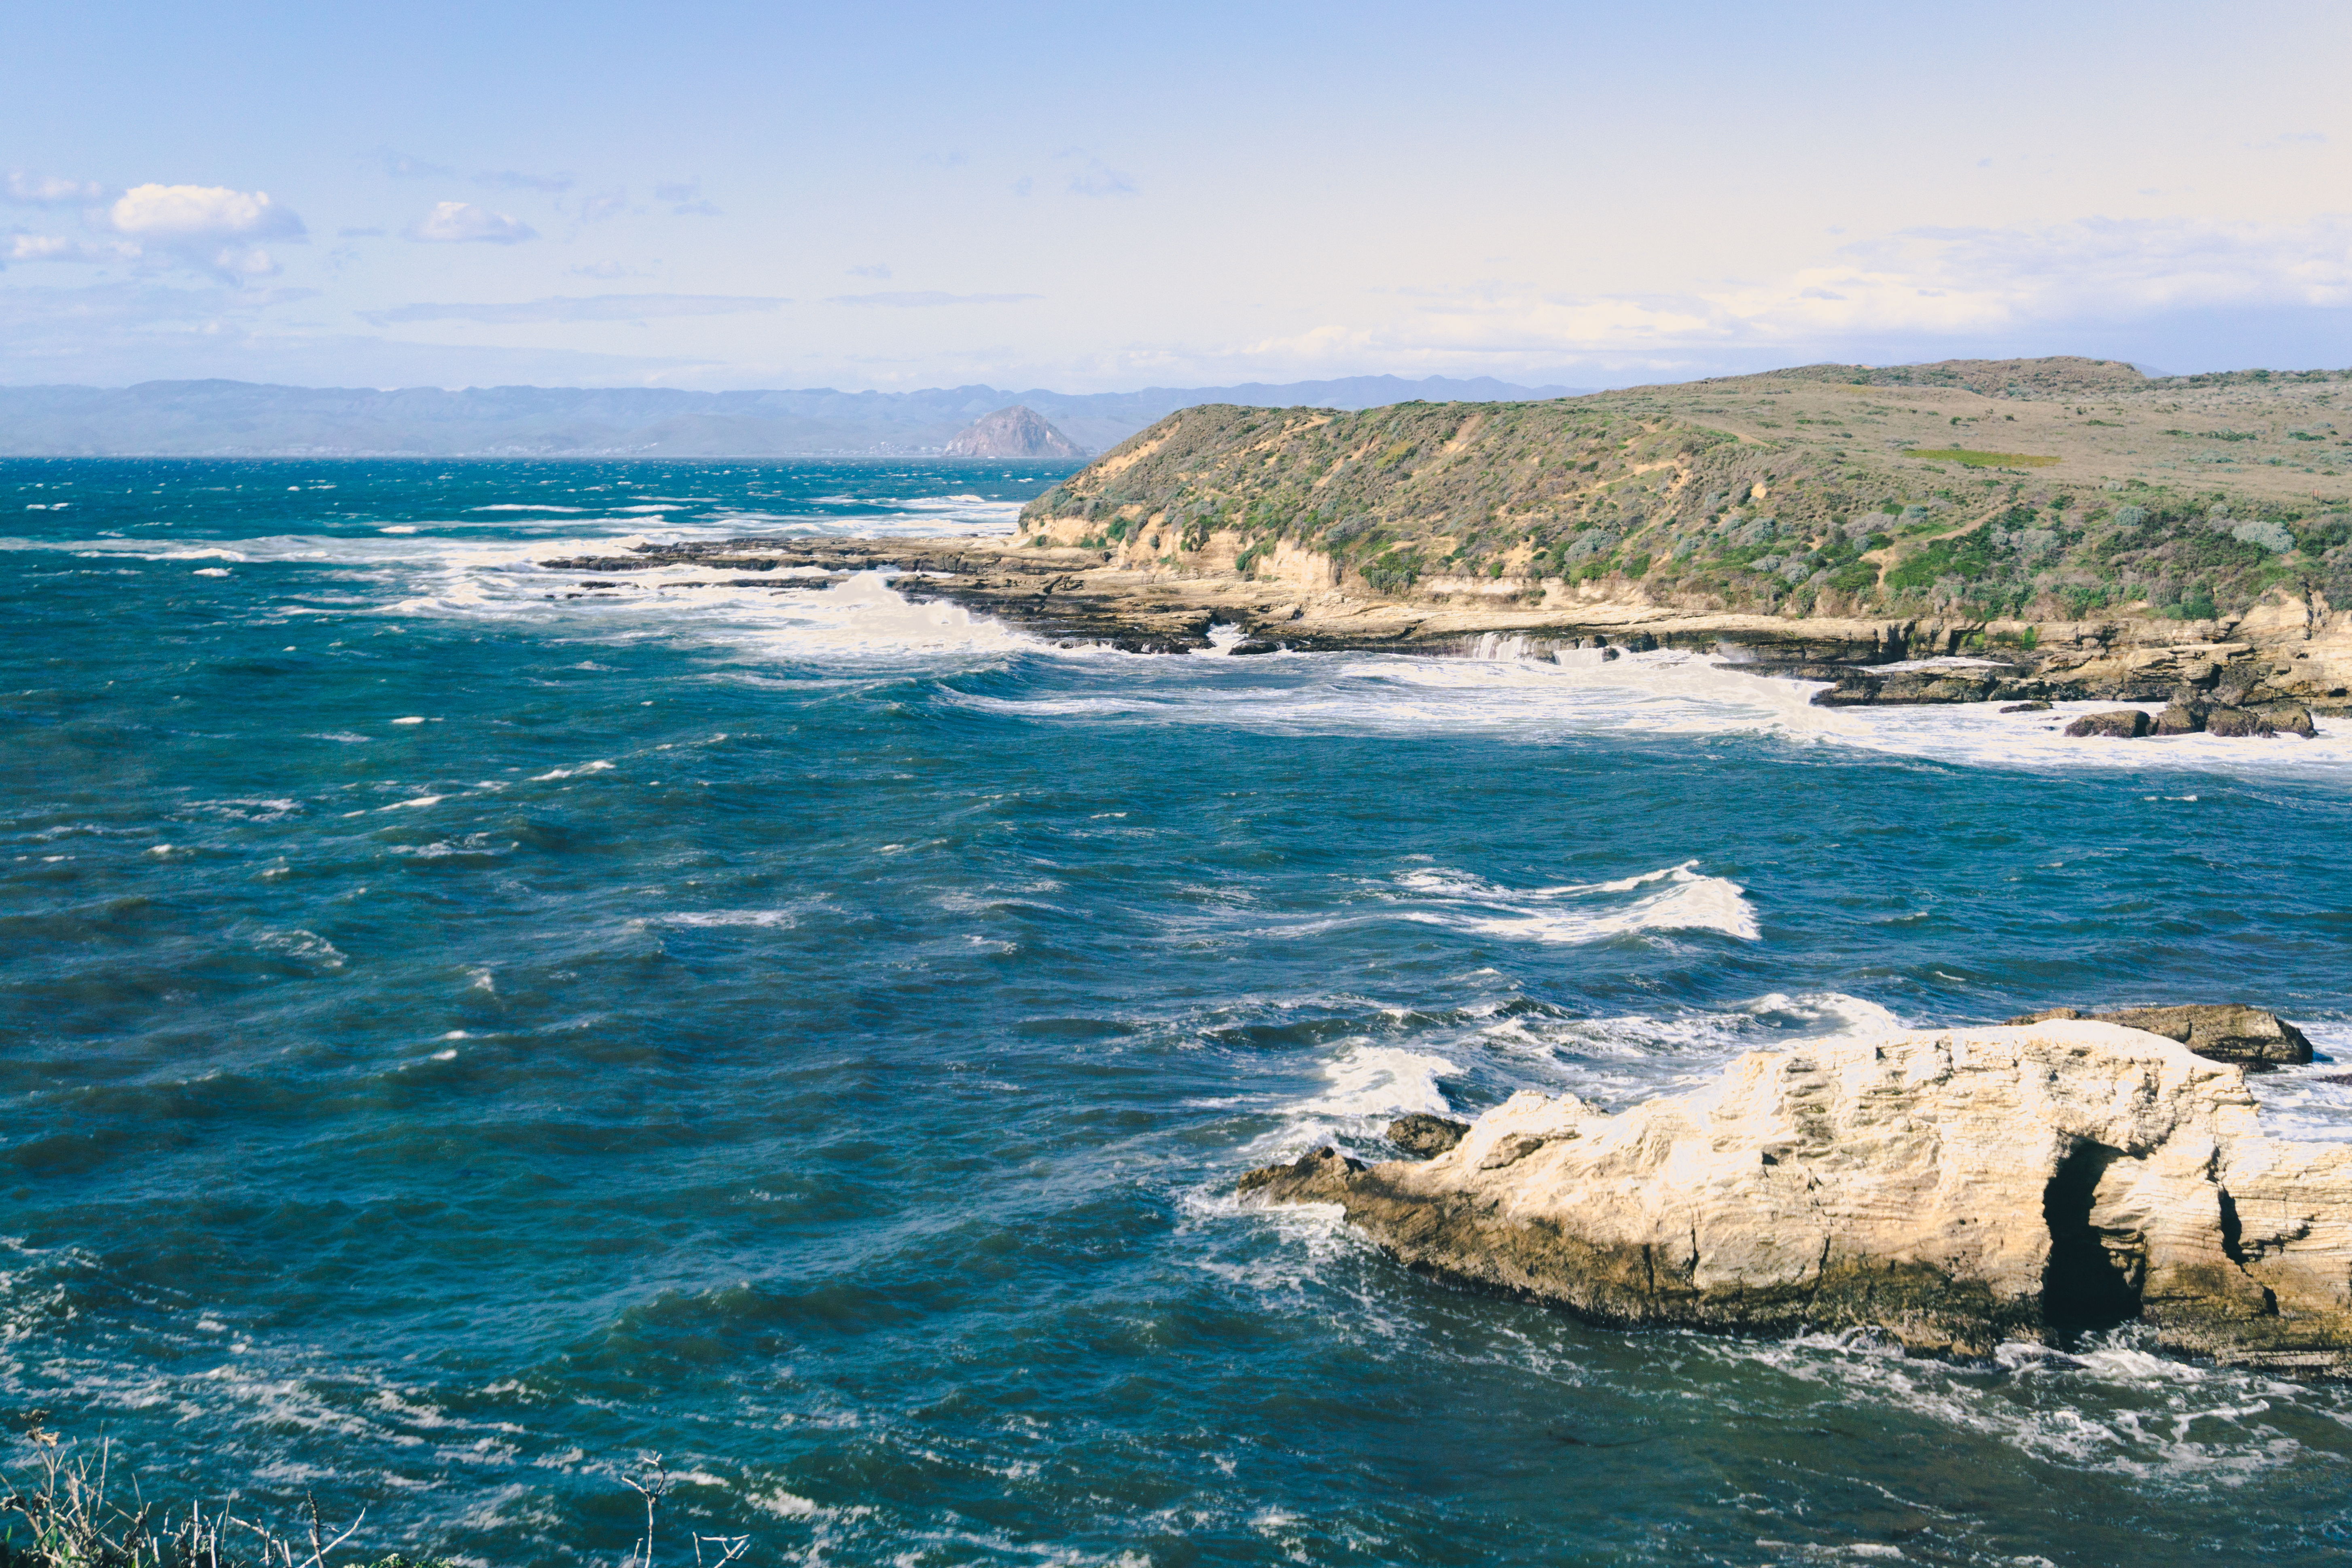
A late afternoon hike near Los Osos, CA…
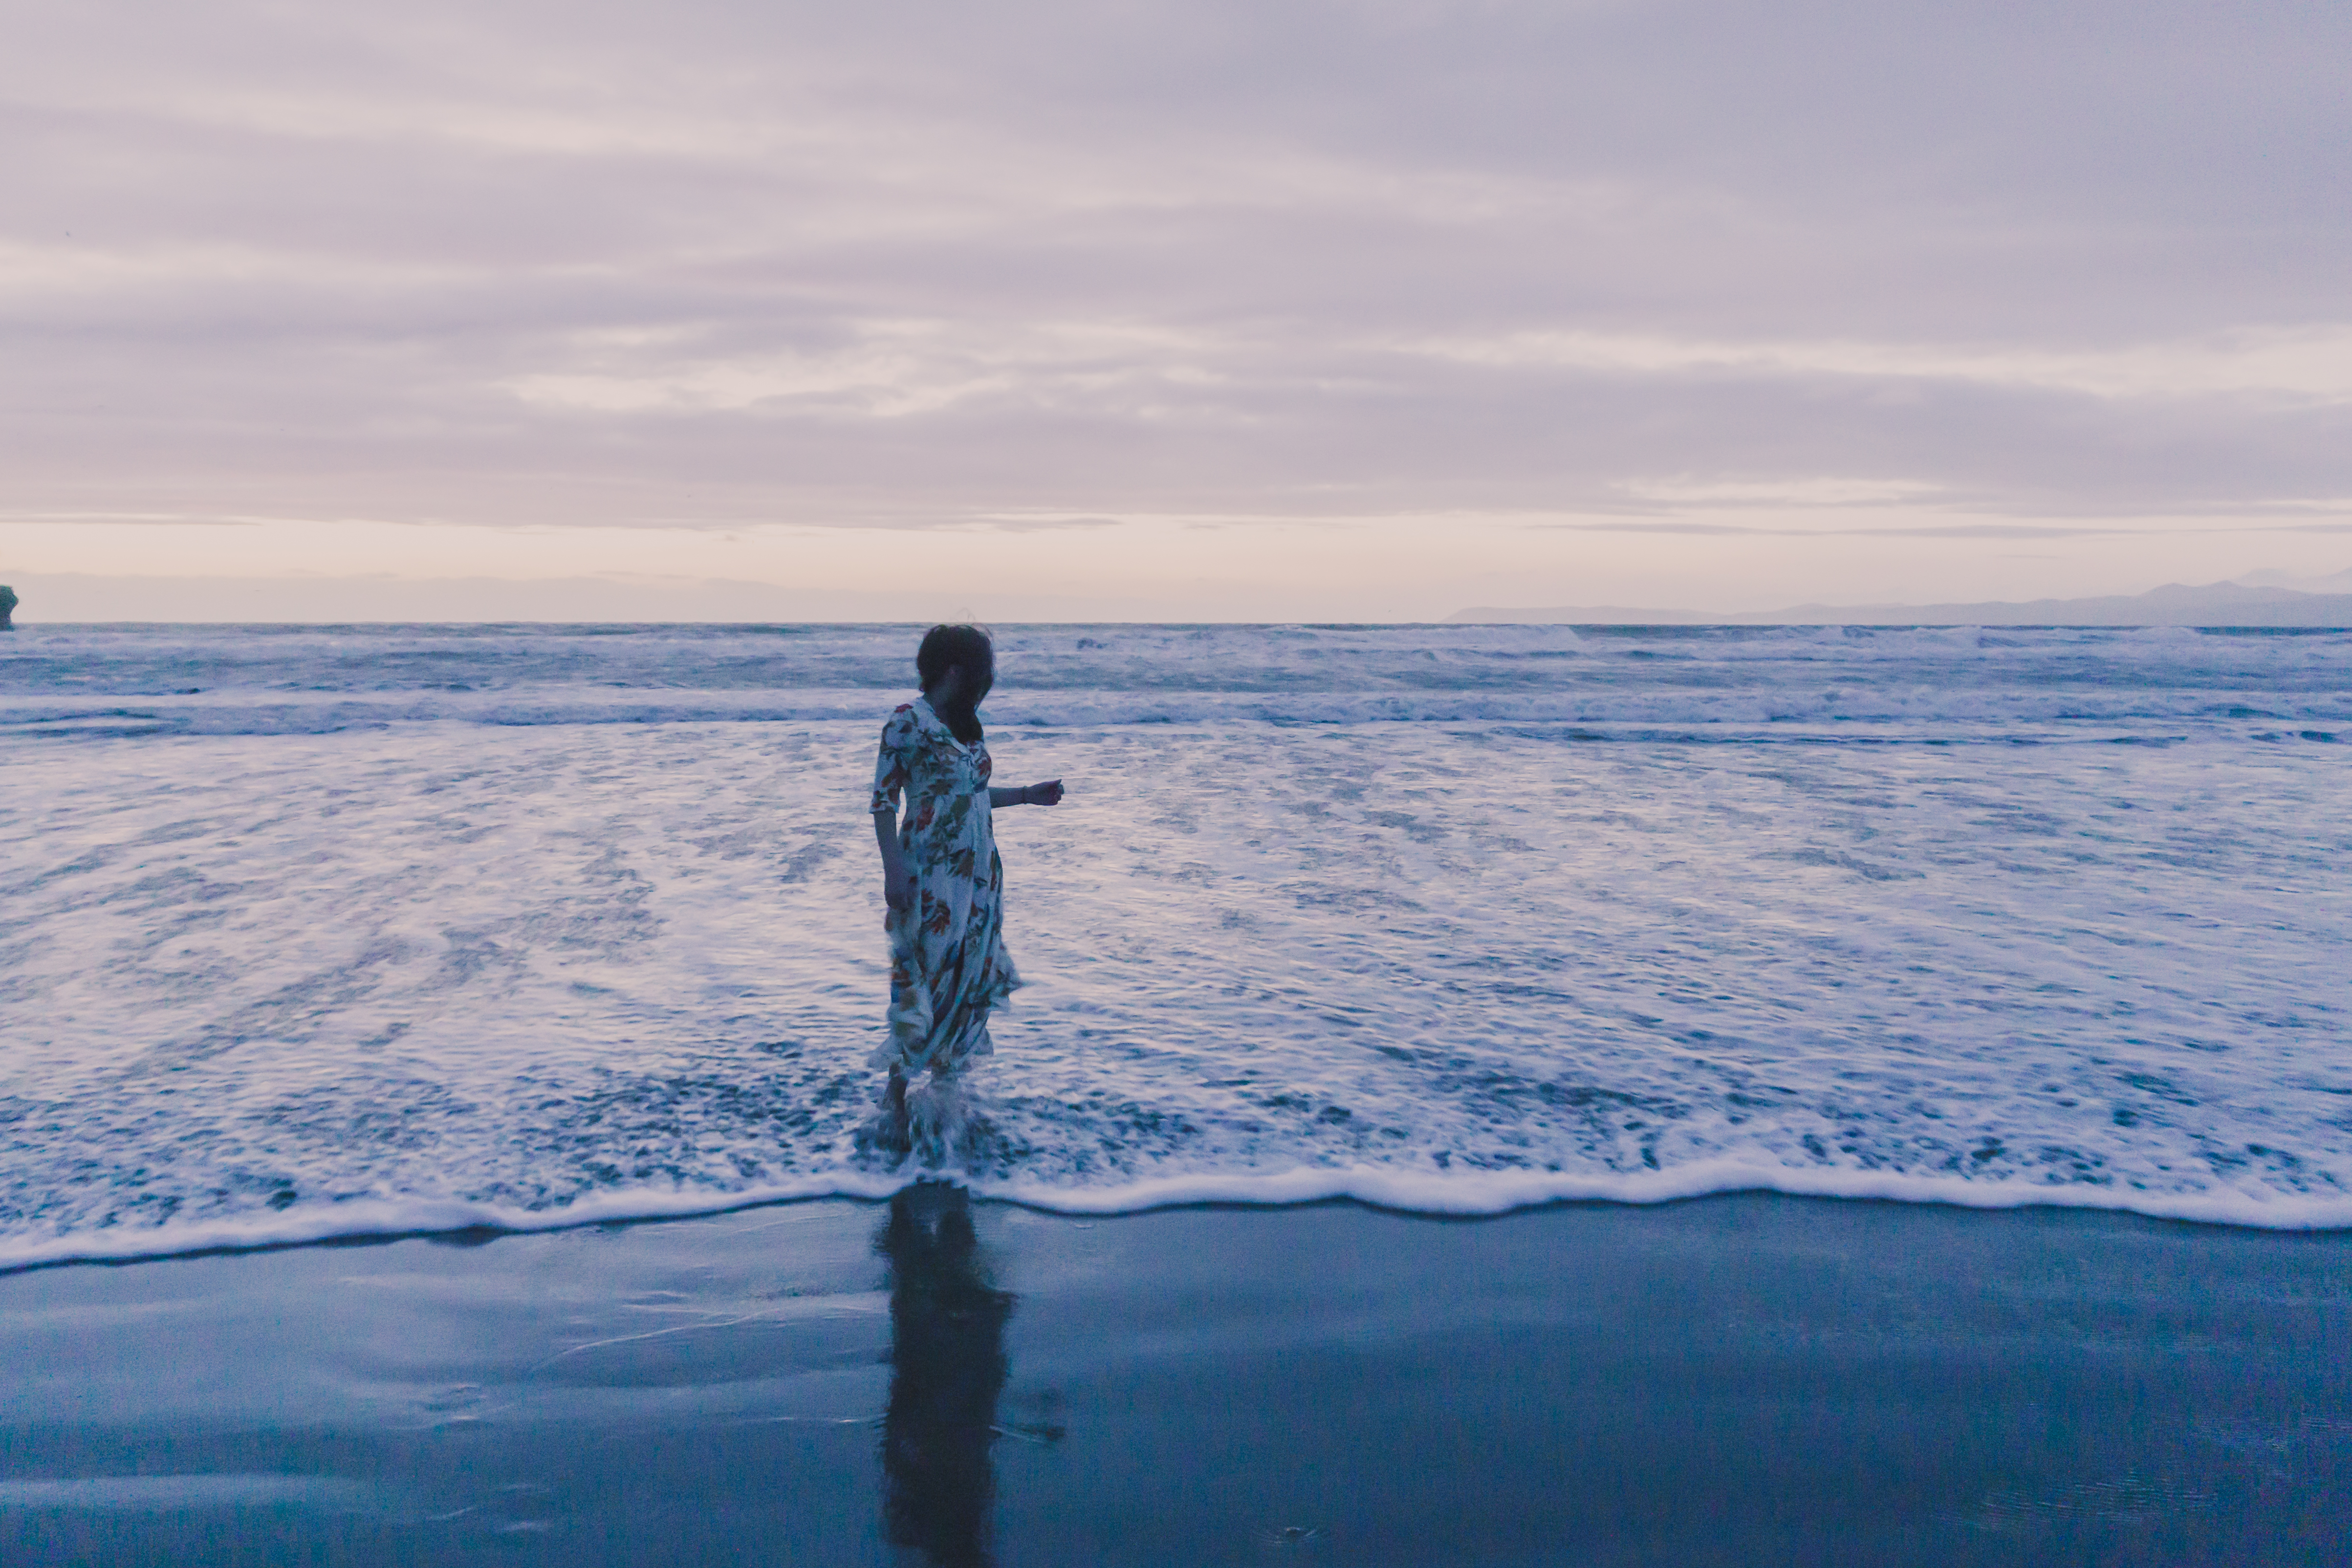
Dusk on the first not-rainy day after a stormy week in Morro…
2 – Sketching Forms and Making Plans
When I’m organizing my thoughts about a place, I like to make some quick and rough sketches to play with relative scale, feel, and overall architecture of places I like. Like these:
Spending this time translating the world onto the page helps me decide which direction to take the eventual paintings.
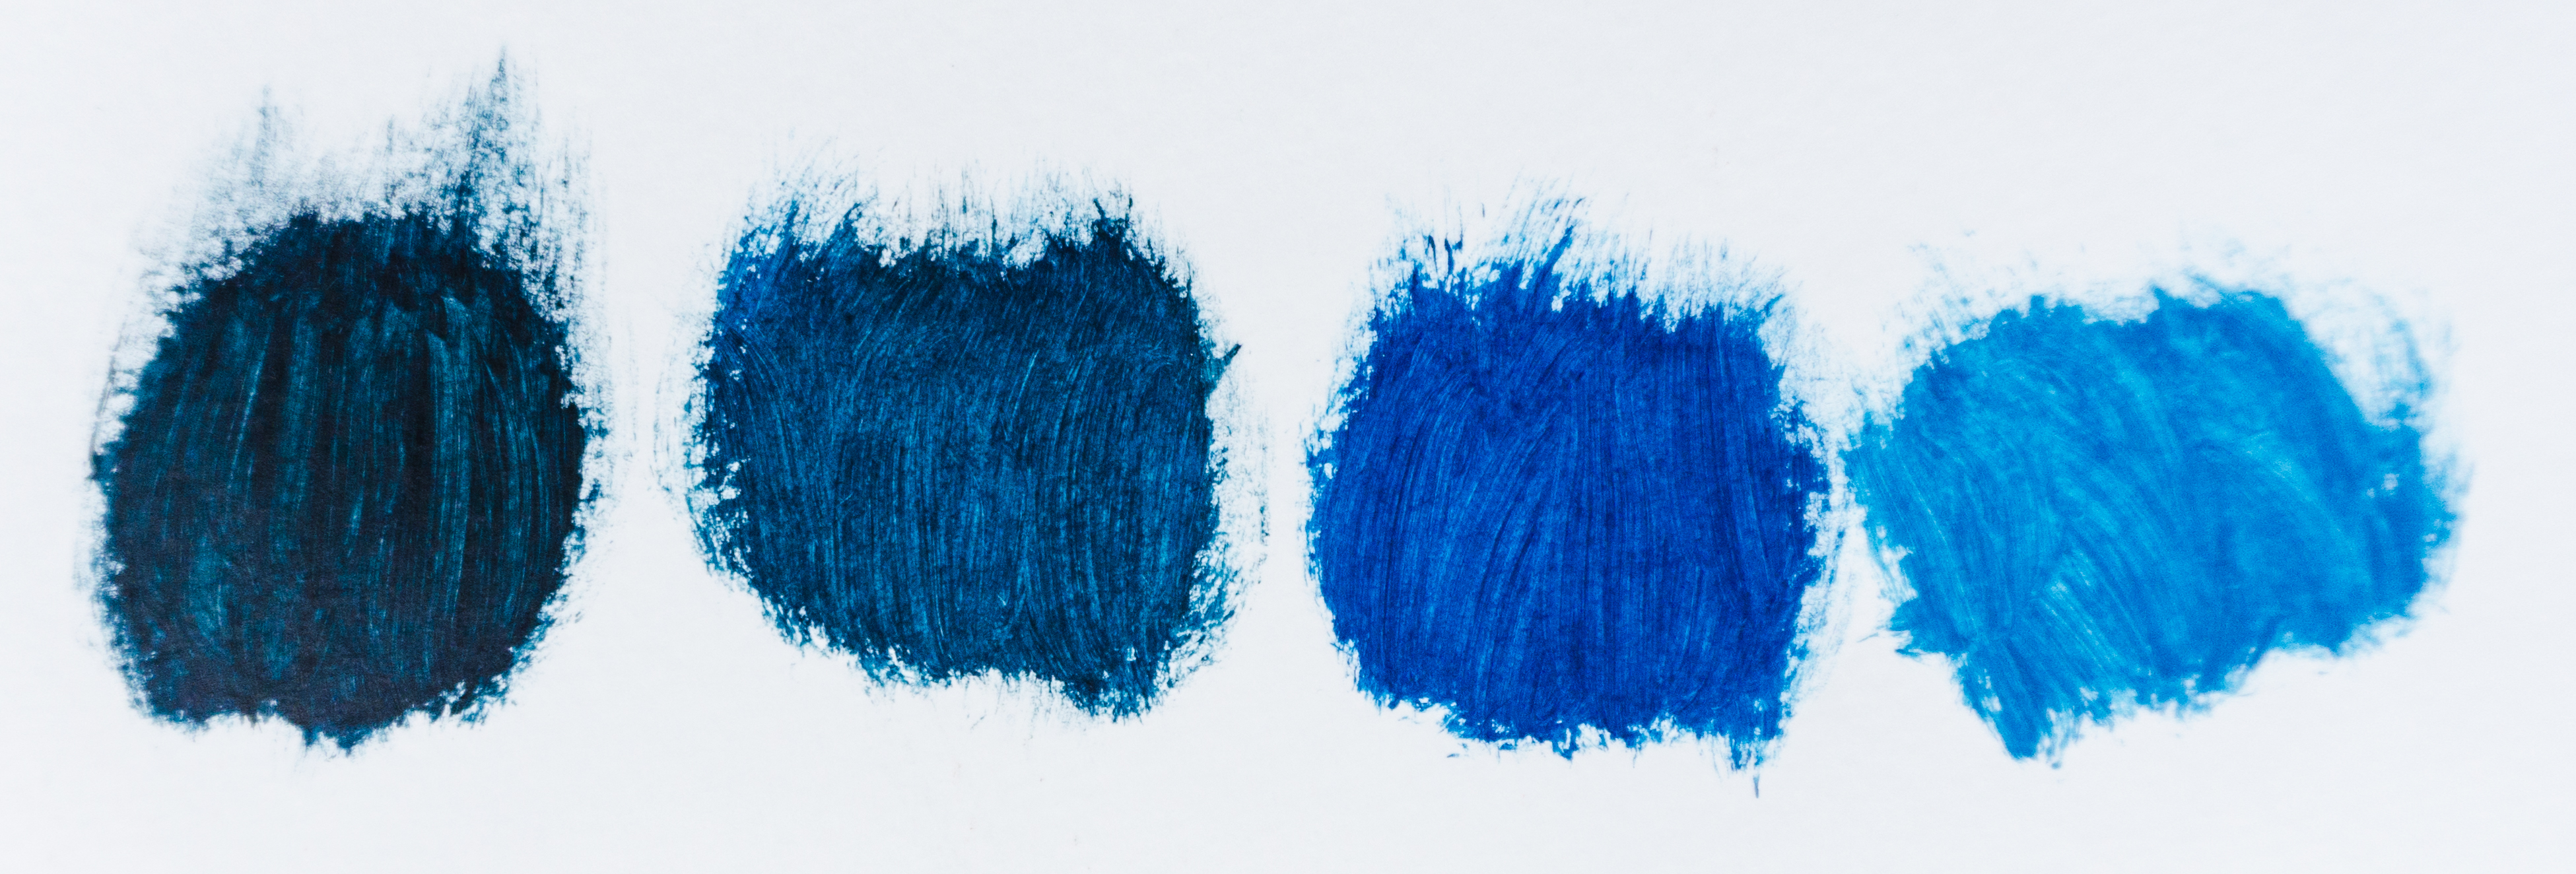
3 – Study the colors
Along with the sketches (and before I start any work on the canvas) I like to play with mixing up colors to discover which tones I like, which hue best captures the feeling I’m trying to convey, and how well colors play together. I end up with a lot of splotches like these:
And alongside the color experiments, I’ll do some just-for-fun/warm myself up paintings that focus on how I want the paints to come together and play off each other. For these I will use either some thick paper or inexpensive canvas boards from Michael’s (great for practicing on when you don’t want to waste a whole canvas!).
Here are a couple of examples of fast practice paintings I did to see how my colors might look in a composition:
(When I work on these color studies, the kinds of questions I ask myself are: does the light seem right? Am I conveying the mood I want? Are the colors balanced?)

So that’s an overview of starting the painting process! Finding inspiration, sketching out forms and plans, and studying the colors.
In Part 2, I’ll talk about how I am preparing my canvases and I’ll show more of the collection!
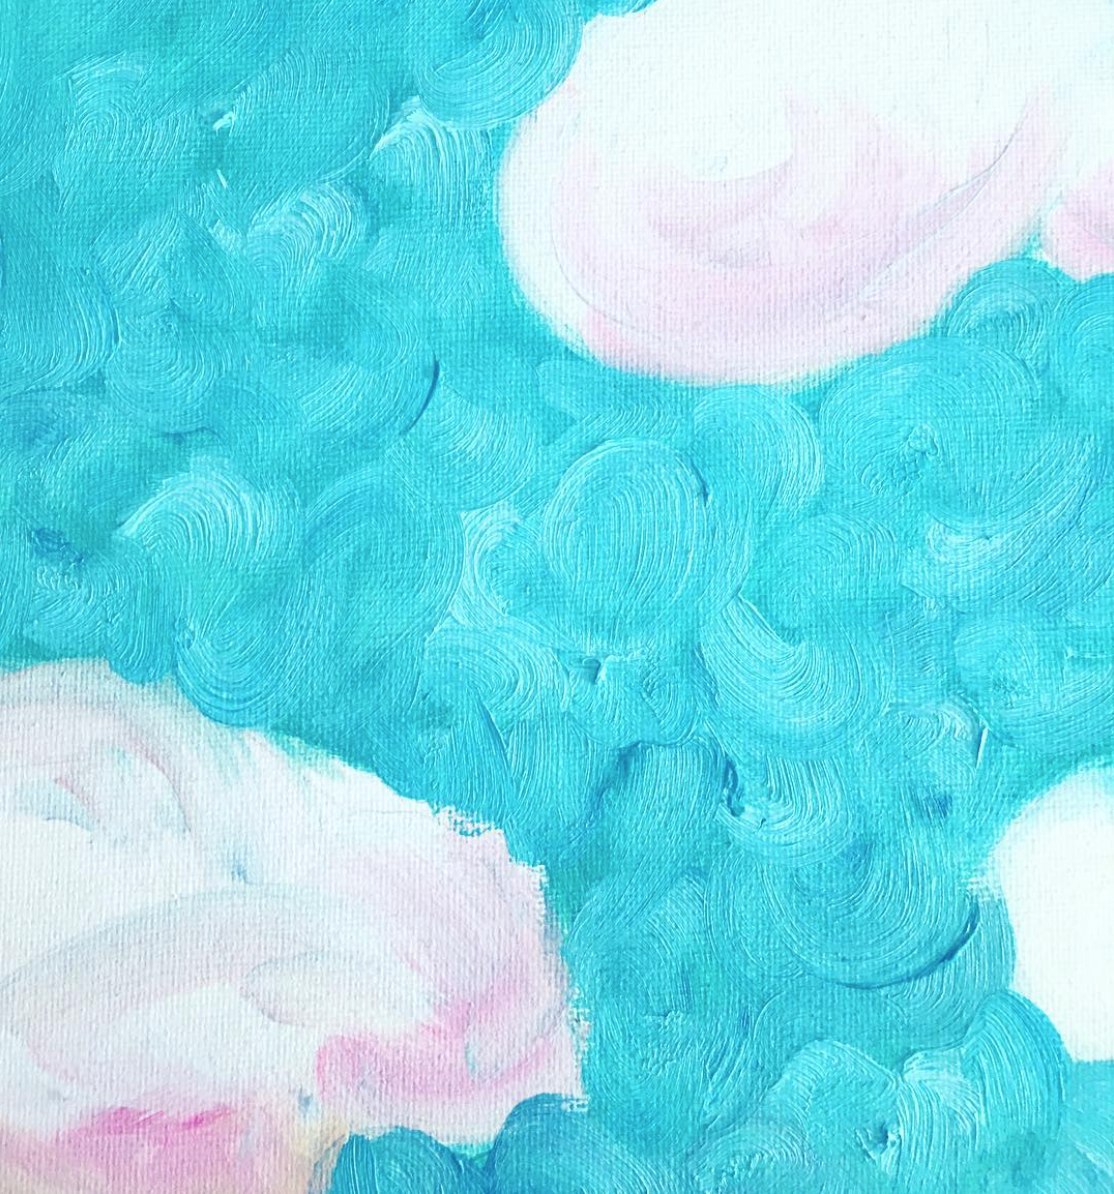
And this Thursday, I’ll post a time-lapse of the process for this painting:

(I just love the clouds in that one.)
Let me know what questions you have in the comments!
Kate
7 responses to “Painting the California Coastline – Part 1”
I really like the idea of sketching out a miniature before a full painting. How much do you find yourself sticking closely to the original vision vs. finding the painting along the way?
A little of both! Once I’ve settled on colors and spacing I use that to draw out my plan on the canvas, but there’s usually some adjusting along the way before the painting is finalized – especially when it comes to the final details 🙂
This is such an insightful look into your process!! Thanks for sharing!
Thank you! 🙂
[…] this week, I wrote about the preparation steps that are part of the process for creating an art collection. Today I’m sharing a time-lapse video of one of the California […]
[…] back with another update on my California Coastline art collection! In Part 1, I talked about some of the things that happen before any paint gets on the canvas. Here in Part […]
[…] this week, I wrote about the preparation steps that are part of the process for creating an art collection. Today I’m sharing a time-lapse video of one of the California […]